Pumpkin Carving Tools
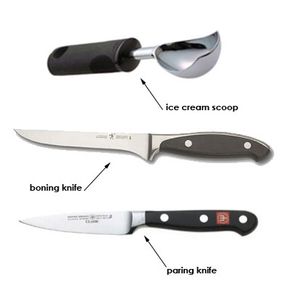
Image courtesy Amazon.com
Whether you're carving a simple or complex jack-o'-lantern, your first step is to gather all of your materials. You can buy a pumpkin carving kit that contains everything you need, but you probably already have most of the necessary tools in your kitchen. For a basic jack-o'-lantern, you'll need:
- A large boning knife
- A small paring knife
- A large spoon or ice cream scoop
- A bowl
- A dry-erase marker or grease pencil
- Newspaper
- An apron
- A damp cloth or paper towel
You can use a keyhole saw instead of a paring knife to cut out the details in your pumpkin. A keyhole saw is sharp and maneuverable and by using a sawing motion, you can cut with it quickly and accurately. You can buy keyhole saws at craft supply stores and hardware stores. They're often included in pumpkin carving kits as well.
Advertisement
Put these tools to use on the next page -- start carving!