Halloween Channel Get in the Halloween spirit with our collection
of spooky articles, and find out how to make your favorite Halloween
treats at our special Halloween Channel.
|
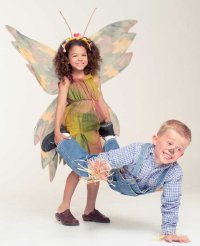
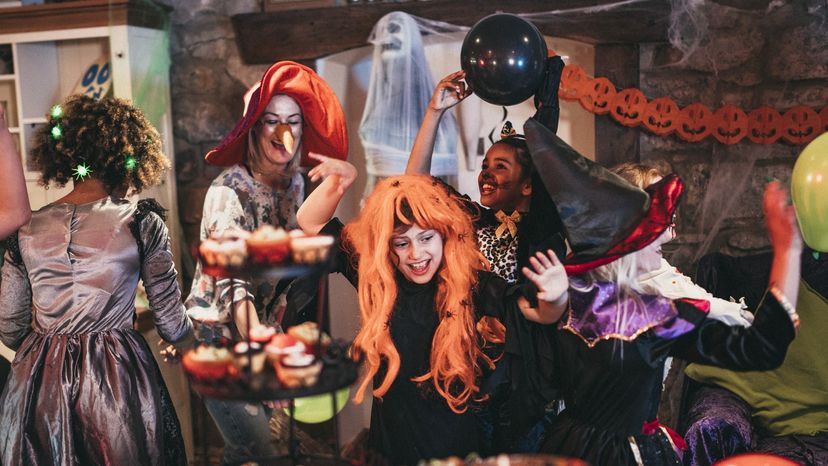
Whether your ghouls and goblins like super-scary or scream-free parties, you'll find a cauldron full of Halloween party ideas in this article. Their hearts will race and their funny bones will bounce with these Halloween themes. With step-by-step instructions, we'll show you how to throw a Halloween party for adults, kids, and even younger kids.
We'll give you Halloween decorations, crafts, and game ideas to make each party so fun it's scary.
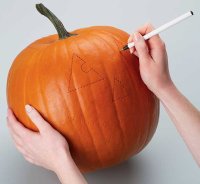
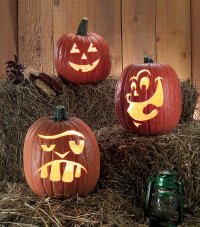
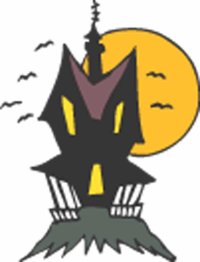
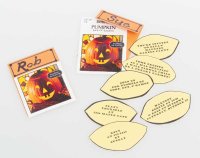
- Carving a Pumpkin
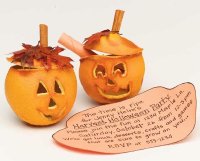
One of the first steps to every Halloween party is a carved pumpkin. We'll teach you how to choose the right pumpkin for the design you want to create. Learn safety tips for carving a pumpkin into a Jack-O'-Lantern. If you're tired of the regular Halloween pumpkin designs, use our downloadable pumpkin-carving templates to create the most unique Jack-O'-Lantern on the block.
- "Get Into the Spirit" Halloween Party
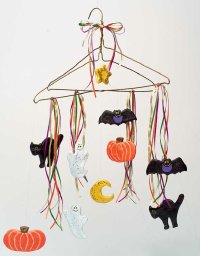
This informal Halloween party is a great way to liven up the house for your family. Pick a time that's best and begin decorating with the little monsters you love the most. In addition to Halloween recipes, we'll walk you through different Halloween craft ideas that are fun for the whole family. Your kids will love the Shrunken Heads that you place around the house.
- "Who's Afraid of the Dark?" Halloween Party
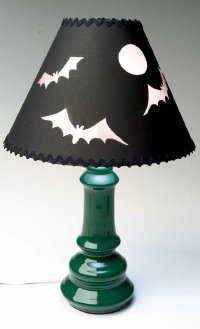
This informal party is a good way to jump into Halloween without a lot of planning. This Halloween party theme centers on the play of light and darkness -- it's a good excuse to make sure your witch or warlock is ready to conquer the night with safe and fun flashlights and trick-or-treat bags. Learn how to create this party and make a Halloween lampshade that's sure to be the light of your eye.
- "Horrifyin" Halloween Party
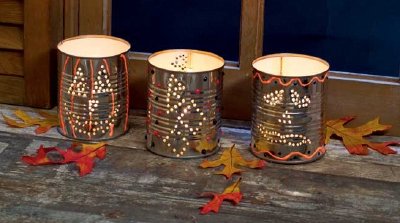
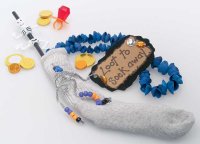
This spooky Halloween party is fun for kids of all ages. Send out creepy invites with a (rubber) rat inside a box to set the mood for your Halloween party. Invite guests to play eyeball checkers or have them find the eyes from a bucket of unraveled brains. In this section, we'll show you how to set the table for ewww and create a truly horrifying Halloween party.
- "Magic Brew" Halloween Party
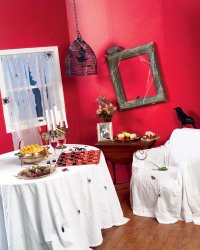
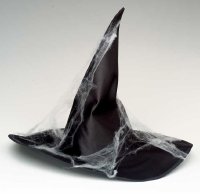
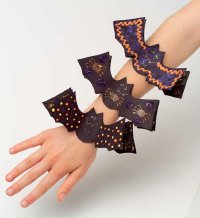
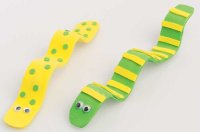
This party is perfect for would-be witches. Themed with classic Halloween decorations such as black bats, black spiders, black cats, and broomsticks, it's a fun night for the imagination. Send invites in a charm pouch, send kids on a witch hunt, and create ghastly bat crafts that your kids are sure to love. We'll teach you how to throw a "Magic Brew" Halloween party in this section.
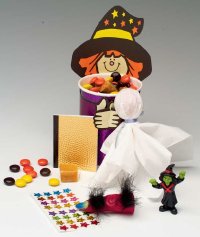
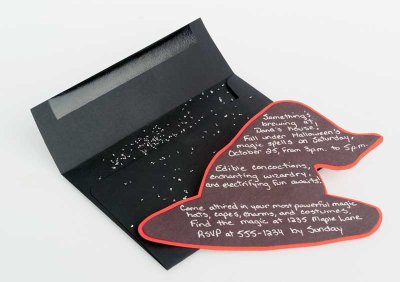
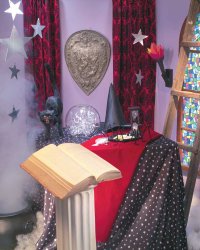
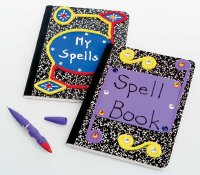
- "Spellbound" Halloween Party
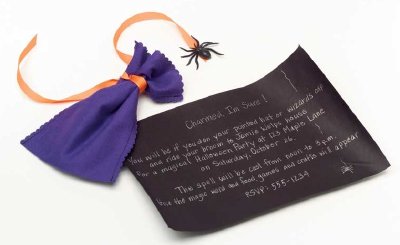
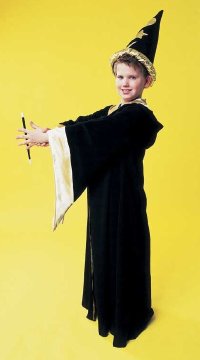
Another variation on the magic theme is that of spells. This is a great Halloween party for slightly-older kids. Guests can create their own spell books and show off their magic tricks at this party. We'll teach you how to conjure spells that will keep the kids amazed, decorate the party room, and send out creative witch hat invitations in this section.
- "Historical Halloween" Party
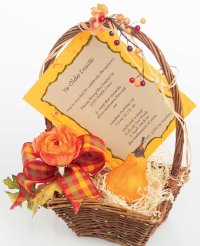
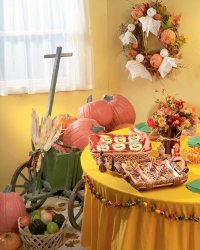
This is a Halloween party that is simple and beautiful. While your kids will certainly enjoy the games, adults will enjoy the old-fashioned celebration of the fall. Learn how to create a gorgeous Halloween invitation from a simple craft basket. Enjoy the traditions of the past by serving Apple Cider Cake and caramel apples. Decorate with tasteful elements of the season. We'll show you how to create this serene and fun Halloween party.
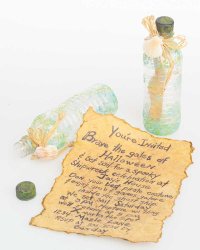
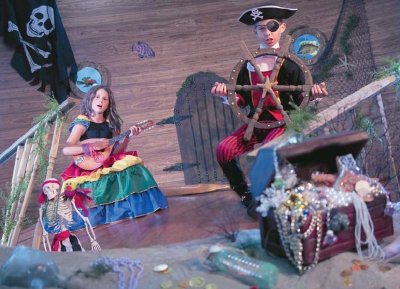
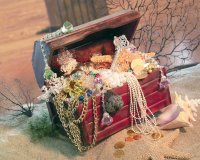
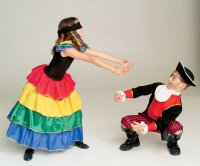
- Pirate Halloween Party
With all the blockbuster movies, pirates have come back with a bang. Your little ones may demand a pirate-themed party or make you walk the plank. You won't be lost at sea with our instructions on how to throw a pirate Halloween party. We'll show you how to transform the party room into a pirate ship, create a message-in-a-bottle invitation, and give you some great ghost stories for your pirates and maidens to tell.
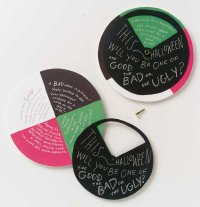
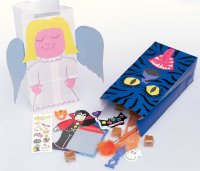
- "Good, Bad, Ugly" Halloween Party
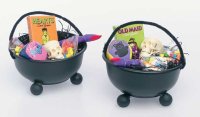
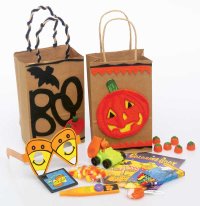
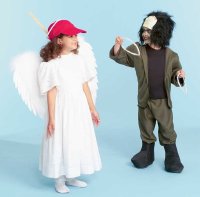
Sometimes you can't be sure if your little ones (and their friends) are angels, devils, monsters, or all three. You don't have to decide with this party. Mix all three themes for heavenly fun. Guests can create their own angel and devil headbands and monster masks as a fun Halloween craft to keep them busy. Games like Angel Toss and Monster Moat are great ways to entertain. Send guests home with sugar, spice, and not-so-nice Halloween goodie bags. Learn how to do it all in this section.
- Halloween Parties for Younger Kids
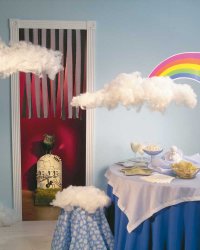
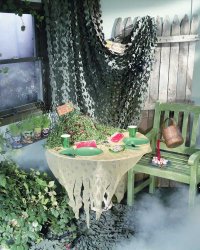
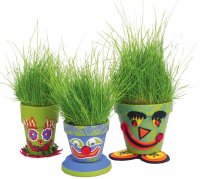
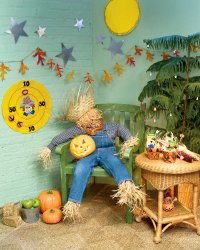
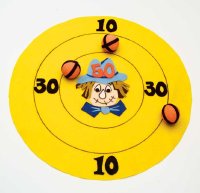
Halloween can be very scary for younger kids. These Halloween themes are designed so even your youngest pumpkin can have a good time. The Haunted Garden Halloween party centers around things that grow. Kids can craft their own seed pots and won't stop giggling from the "Killer Plant" decorations you place in your house plants. In the "Harvest Halloween" party, little ones can romp and play with scarecrows and velcro darts. Learn how to throw both of these parties in this section.
There are a lot of parties to get your Halloween off on the right foot. Let's jump right in by carving a pumpkin in the next section.
Advertisement